Track Section Details Window
This window contains details about a specific track section.
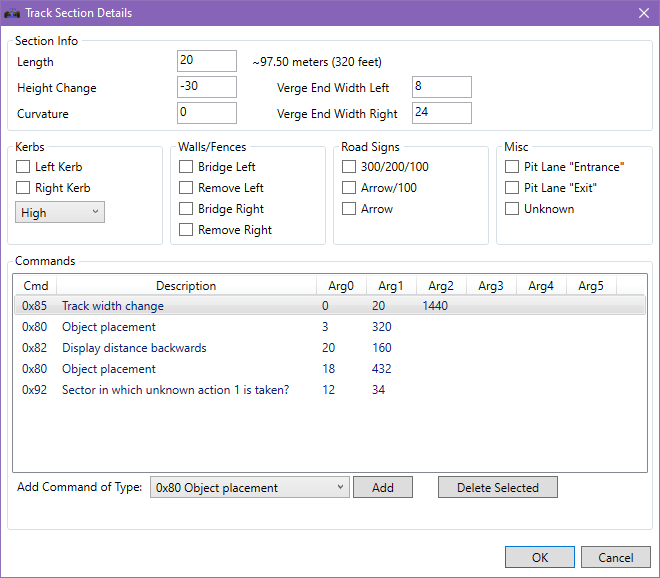
Section Info
| Name | Description |
|---|---|
| Length | Each section has a length, specified in a unit where 1 = 16 feet. |
| Height Change | |
| Curvature | Describes if a section is straight (0) or turns (-32,768 to 32,768). See Topic: Corner Geometry |
| Left Verge Width | |
| Right Verge Width |
Kerbs
| Name | Description |
|---|---|
| Left Kerb | Whether the section has a kerb on the left side of the track |
| Right Kerb | Whether the section has a kerb on the right side of the track |
| Type | Describes the type of kerb, either High or Low |
Walls/Fences
| Name | Description |
|---|---|
| Bridge Left | When several walls are bridged, the wall will go directly from the starting point of the first bridged wall to the starting point of the next non-bridged wall. See: Topic: Bridging walls |
| Remove Left | Hides the wall on the left side(?) |
| Bridge Right | When several walls are bridged, the wall will go directly from the starting point of the first bridged wall to the starting point of the next non-bridged wall. See: Topic: Bridging walls |
| Remove Right | Hides the wall on the right side(?) |
Road Signs
| Name | Description |
|---|---|
| 300/200/100 | |
| Arrow/100 | |
| Arrow |
Note that these can be combined in various ways.
Misc
| Name | Description |
|---|---|
| Pit Lane "Entrance" | |
| Pit Lane "Exit" | |
| Unknown |
Commands
There are various track commands associated with each section. These can have a lot of different functions.
A full list of track commands is available at ArgDocs.
To add a command of a specific type, select the type in the “Add Command of Type” dropdown list and click the “Add” button.
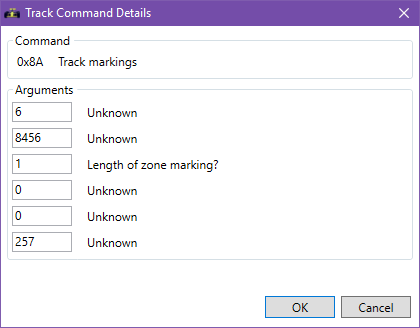
When adding or editing track commands, this is the generic window that will appear.
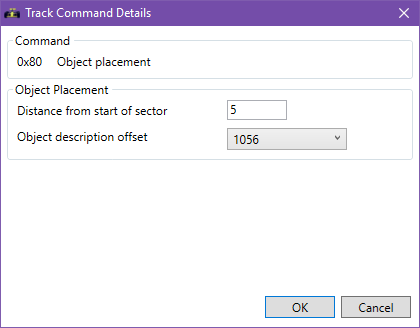
However, some commands have specialized windows. In the future, ArgTrack will feature more and more specialized windows.
For example, this is the window that appears when editing a 0x80 object placement command:
To delete the selected track command, click the “Delete Selected” button.